Blue Hole map guide
Dave the Diver Map: Blue Hole Areas, Depths & Routes
Plan each dive around depth bands, landmarks, fish targets, and a safe return path. This map guide explains what to check before you follow a cave or chase a rare catch.
- Best referenceDepth + landmark
- Route goalReturn with target
- Dive timingDay or night
- Safety ruleKeep oxygen margin

Quick answer
How to read the Dave the Diver map before you dive
The Dave the Diver map is easiest to use as a sequence of depth bands rather than a fixed coordinate grid. Blue Hole entrances, caves, and connecting passages can change between dives, so note the area, a recognizable landmark, and the direction back to the boat before you commit to a detour.
Start with the objective that can end the dive: a story key, quest fish, boss arena, or mission item. Route through optional catches only after that target is secure. Returning with the required item is more valuable than spending the last oxygen on a rare fish that can be found again later.
Use the table below to pick a starting layer, confirm whether the target belongs to a day or night pool, and reserve time for the return trip. Pair this map guide with Fish Locations for species details, Best Weapons for dangerous corridors, and Fish Farm for repeatable restaurant supply.
Map route table
Dave the Diver map: area and depth table
Use these representative layers as a route plan. Check the current dive, mission marker, and oxygen before you leave a safe corridor.| Map area | Depth | Landmarks | Best use | Route tip |
|---|---|---|---|---|
| Shallow Blue Hole | 0–50 m | Coral shelves, open water | Early quests and safe menu stock | Collect first, then return along the wall |
| Midwater Blue Hole | 50–130 m | Rock arches, predator lanes | Stronger fish and upgraded dishes | Keep a clear dodge lane behind you |
| Deep Blue Hole | 130 m and below | Dark ledges and narrow drops | Late objectives and rare targets | Check suit, oxygen, and exit before descending |
| Limestone Cave | Variable side passage | Pools, walls, hidden corners | Cave quests and collection items | Mark the entrance so the return route is obvious |
| Glacier Passage | Cold late-game route | Ice walls and sealed doors | Ice-region story, murals, and special items | Bring the mission tool before spending oxygen |
| Sea People Village | Story access route | Village gates and chambers | Story errands and community requests | Finish nearby errands in one visit when possible |
| Hydrothermal Vents | Deep late-game region | Vents, pillars, hot pools | Endgame quests and recipes | Use an upgraded suit and plan the ascent |
| Night dive | Night version of open layers | After the restaurant shift | Nocturnal fish and special requests | Leave earlier because the dive window is shorter |
| Event route | Temporary area pool | Tuna or themed events | High-value event dishes | Check the event notice before choosing equipment |
| Boat and exit | Your planned turn point | Every dive | Safe completion and inventory protection | Set a personal oxygen threshold and turn back |
Depth zones
How depth zones change your route
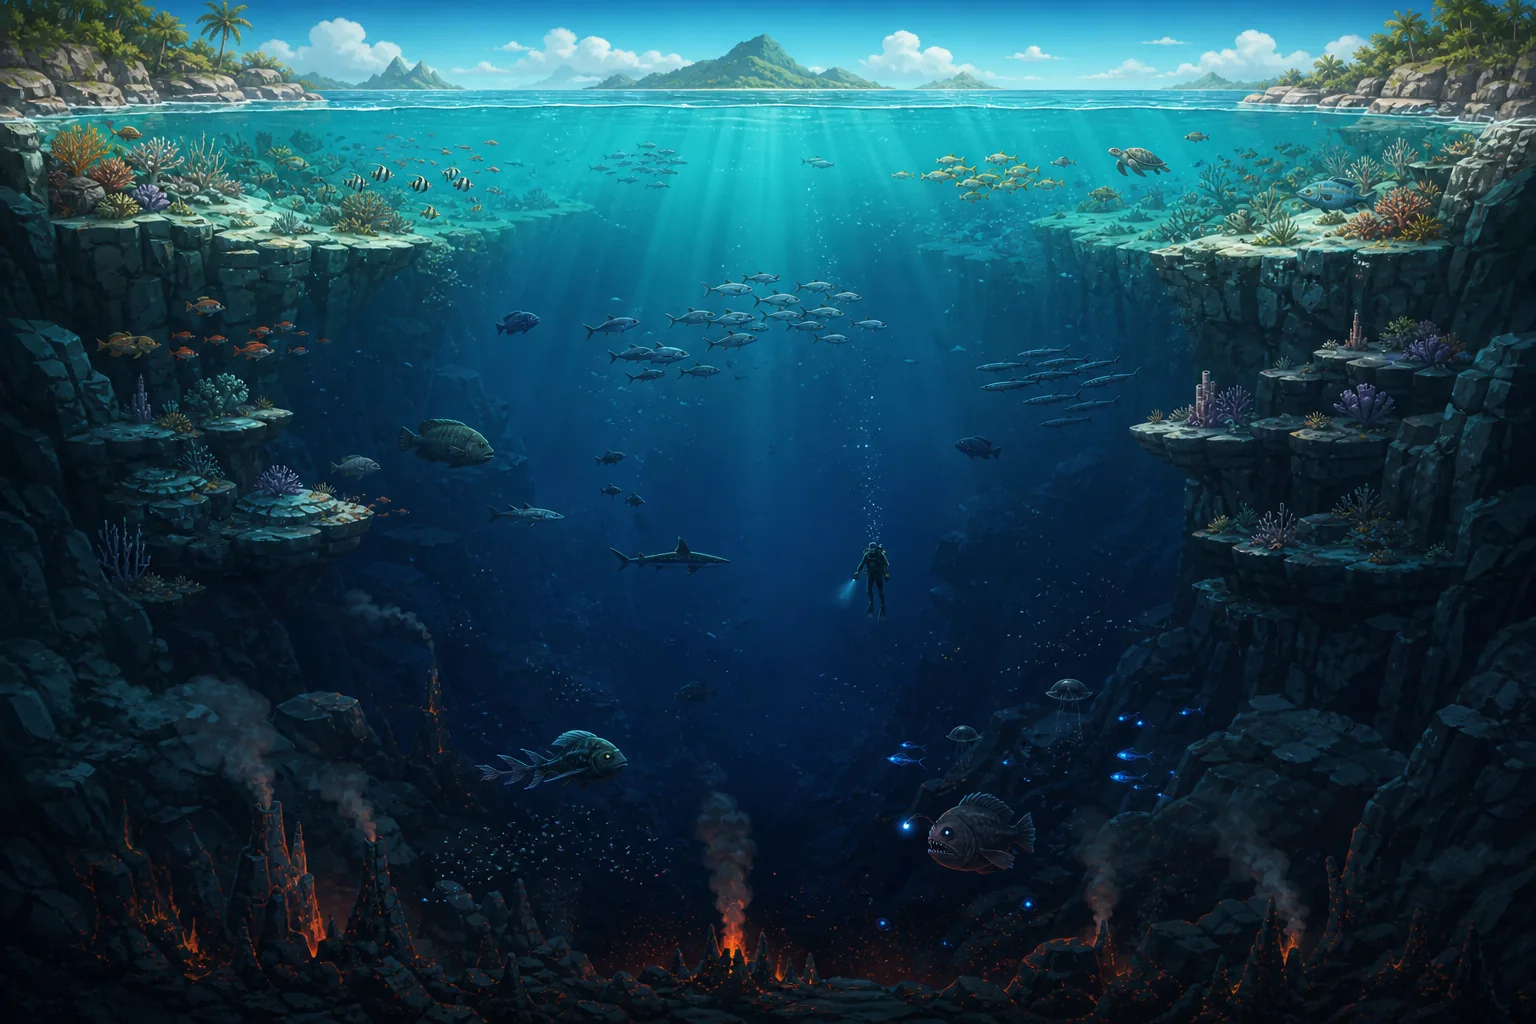
Shallow water is the best place to learn the shape of a new dive. It gives you room to test a weapon, collect ordinary ingredients, and identify the first branching landmark without spending much oxygen. If a mission target appears nearby, secure it before you explore deeper.
Midwater adds stronger predators, cave entrances, and better-value ingredients. A route that looks short on the way down can become expensive when you must fight back up, so keep one open corridor in reserve. The map is a decision aid: it tells you when to stop chasing optional loot.
Deep regions and late-game passages reward preparation rather than speed. Check the suit, weapon, recovery option, and mission item before crossing a narrow drop. On a night dive, treat the clock as another boundary: a route that is safe in daylight may be inefficient when the nocturnal pool is active.
Map decisions
Which route should you prioritize?
Choose the objective that is hardest to replace, then spend the remaining oxygen on useful nearby work.1. Mission target
Secure a required key, item, or fish before you detour. A clean mission finish protects the rest of the run.
2. One-way landmarks
Visit caves, doors, murals, and village paths when they are already on the route; avoid crossing the map twice.
3. Restaurant supply
Gather repeatable ingredients for upgraded dishes when the route is safe. Profit planning belongs after the mission check.
4. Collection entry
Add a new FishMon, photo point, or mural only when the required tool and exit are already covered.
5. Boss approach
Before an arena, leave space for dodging and confirm the weapon link in the Best Weapons guide.
6. Safe exit
Turn around at your oxygen threshold. The last optional item is never worth losing a full inventory.
Landmark routing
Use landmarks to make the map memorable
A route is easier to remember when it has a story: coral shelf, broken arch, cave mouth, then the deep drop. Repeat the same visual sequence instead of trying to memorize a coordinate. When the layout shifts, landmarks still help you identify the next decision.
If you are collecting fish, write the target depth and nearest landmark in your own notes. The Fish Locations page can narrow the species and capture method, while this page answers the broader question of how to reach the right layer without wasting a dive.
For a first visit to a new region, take the safe route once and return with spare oxygen. Only on the next dive should you add optional branches. This habit makes bosses, event fish, and late-game requests less stressful because you already know the exit pattern.
Continue the guide
Pair the map with the right companion guide
A route is most useful when it answers the next decision too: what to catch, which weapon to carry, and when to return to Bancho Sushi.
Map FAQ