Fish farm guide
Dave the Diver Fish Farm: How to Stock It and Choose the Best Fish
Use the Fish Farm as a repeatable supply buffer for Bancho Sushi. This guide explains the important actions, the last-slot questions, and a practical way to choose fish without copying the separate fish-locations database.
- Main intentHow-to + selection
- Best useStable menu supply
- Page boundaryFarm, not locations
Quick answer
What the Dave the Diver Fish Farm is for
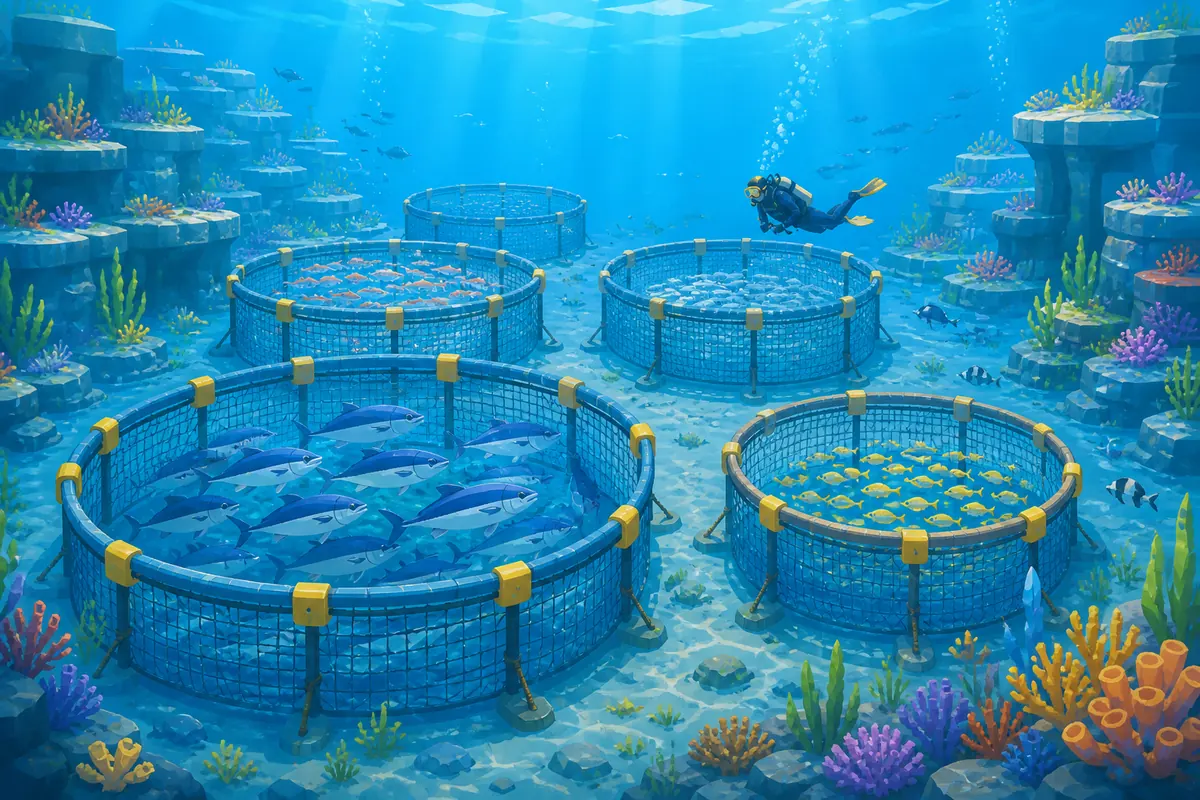
The Dave the Diver Fish Farm is most useful when you want a repeatable source of ingredients instead of relying on one lucky dive. Catch or obtain the fish you want, return to the farm, place it in the appropriate stock position, and check the farm again before planning a restaurant menu.
The best fish to farm is not always the fish with the highest selling price. A good choice is a species you can catch safely, that matches a dish you are actually upgrading, and that reduces the number of emergency dives needed to refill Bancho Sushi ingredients. Use the fish-locations guide for spawn details, then use this page for the farming decision.
Treat the farm as a supply buffer rather than an aquarium or a replacement for diving. Your menu, recipe upgrades, quests, and current equipment should decide what stays in the farm.
Farm overview
How the farm fits into a normal Dave the Diver day
This table keeps the fish farm loop separate from location and weapon guides.| Stage | What to do | Why it matters | Keep the boundary clear |
|---|---|---|---|
| 1. Dive | Catch a fish or collect the fish needed for the next menu. | The farm still depends on an initial supply from exploration. | Spawn depth and capture method belong on Fish Locations. |
| 2. Return | Bring the fish back safely and open the Fish Farm management screen. | A successful catch only helps if it reaches the farm or kitchen. | Do not plan around a fish that your current gear cannot safely repeat. |
| 3. Stock | Place the fish in the intended farm position and check the remaining positions. | Stocking turns a single catch into a repeatable ingredient plan. | Do not assume the last two positions behave like the first ones. |
| 4. Serve | Use farm output as one part of the next Bancho Sushi menu. | The goal is a stable day-to-night economy loop. | Dish upgrades and menu profit belong on Best Dishes. |
Setup steps
How to put fish in the Fish Farm
When a search asks how to get fish into the Fish Farm, the practical answer is to start with a fish you can actually bring back from a dive. The exact availability of species and positions can depend on progression, so read the current screen instead of forcing a fixed capacity number into every version of the guide.
After stocking the farm, give it a purpose. Reserve positions for ingredients that support a live menu or an upgrade path, and keep a short list of alternatives for days when the Blue Hole route or your equipment changes.
Choose a repeatable target
Pick a species from a route you can clear safely. A reliable common fish can be more valuable than a rare fish that costs oxygen, ammo, or a failed run.
Bring the catch home
Finish the dive with the fish you intend to keep. If a catch is needed for a quest or recipe upgrade, record that priority before using it as general restaurant stock.
Place and review
Open the farm, place the fish in an available position, and check what remains locked, empty, or already committed. This is the step behind the last-two-slots questions.
Connect it to the menu
Before service, compare the farm plan with Bancho Sushi dishes. Keep the farm focused on ingredients that will turn into a useful menu or a near-term recipe upgrade.
Best fish to farm
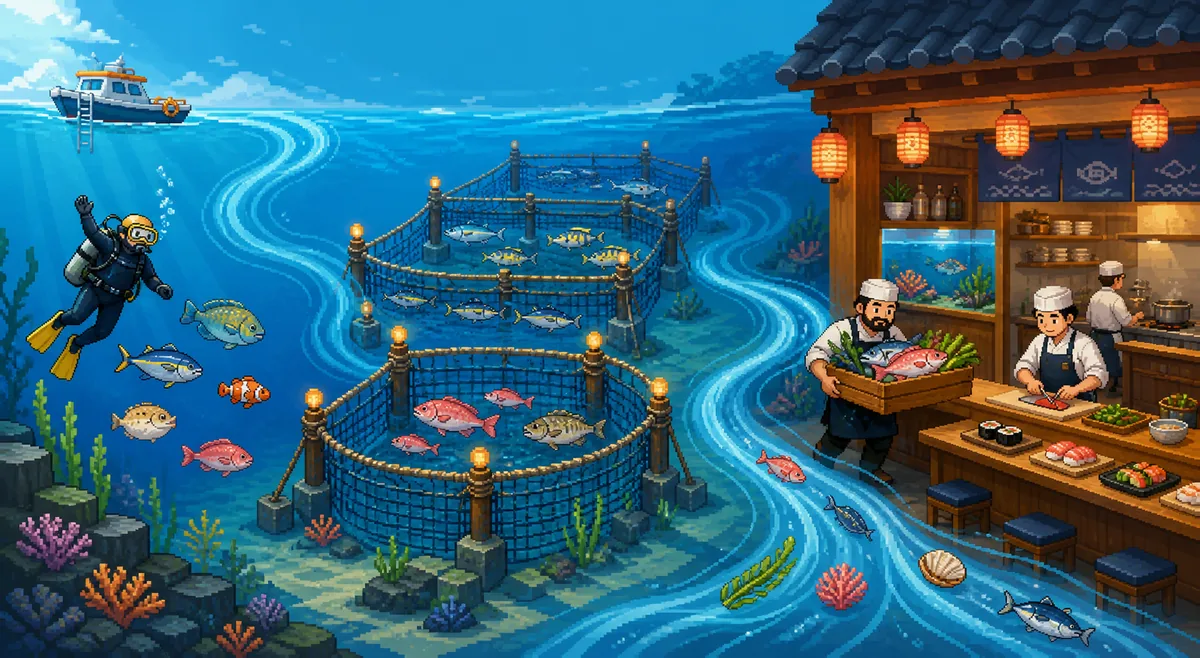
Choose fish by repeatable value, not a single price
Use the examples as decision categories. Your current recipes, quests, equipment, and unlocked areas should decide the final stock.| Fish category | Best for | Menu connection | What to watch |
|---|---|---|---|
| Reliable early fish | Building a low-risk routine | Useful for dishes you can serve repeatedly | Do not fill every position with a fish you will not cook. |
| Tuna and other high-value targets | A menu that already uses the ingredient | Can support expensive dishes after the recipe is ready | Capture risk and equipment cost can erase the value of one catch. |
| Shark or dangerous species | Players with a safe route and enough gear | Strong when the dish is upgraded and demand is stable | Do not farm a dangerous target just because a tier list calls it best. |
| Quest or recipe materials | Protecting a near-term unlock | Keeps one required ingredient from being sold accidentally | Mark the reason for keeping it before making the menu. |
| Rare or deep-water species | A late-game or collection-focused plan | Adds value when you can replenish it without breaking the dive route | Check oxygen, cargo, weapons, and the next quest before committing space. |

Farm to menu
The farm supports the restaurant; it does not replace the dive
A strong Fish Farm routine links three checks: what you can catch during the day, what the farm can keep available, and what Bancho Sushi can sell at night. Breaking that loop leads to two common mistakes: farming a valuable fish that has no current dish, or opening a menu that depends on a stock you cannot replenish.
Think of the farm as insurance against an empty menu. It should make your next dive more intentional, not remove the need to explore, gather materials, or adjust staff and equipment.
Common mistakes
Fish Farm questions that cause wasted dives
Most confusion comes from mixing the farm, the fish database, and community MOD discussions.Treating the farm like an aquarium
The useful question is not whether a fish looks good in a pen. Ask whether the stock supports a recipe, quest, upgrade, or repeatable profit route.
Assuming one fish solves every breeding question
Community questions often ask whether two fish are required. Read the current in-game behavior and avoid promising a universal breeding rule when a position or species condition may differ.
Forgetting the last positions
The last two fish farm slots are a frequent search question. Check which positions are available in your own progression instead of quoting a hard number without context.
Copying a tier list without the menu
A high-value species is only useful when you can catch it safely and turn it into a dish or other objective. Your next menu should beat a generic ranking.
Using a capacity MOD as an original-game answer
Fish Farm capacity MODs belong to the separate MOD guide. Do not install an unverified file just to solve a stock problem, and back up saves before experimenting.
Related guides
Use the right page for the next question
The farm page is intentionally narrow. Link out when the question changes from stocking to locations, dishes, weapons, or community MOD safety.
Sources and scope
What to verify when the game changes
The guide separates official product information from player strategy and community discussion.Use the official listing for current platform, product, and update context. Open the official Steam page
Player discussions can help identify edge cases such as the final farm positions, but they are not a substitute for the current in-game screen. Browse Steam Community guides
FAQ