Community mod guide
Dave the Diver Mods: How to Install Safely
The useful answer is not a random download button. It is knowing which community projects exist, what BepInEx 6 IL2CPP does, where the files come from, and how to protect a save before testing a mod.
- Main targetSteam / Windows
- Loader used by checked projectsBepInEx 6 IL2CPP
- Site policyNo hosted files

Short answer
What should you know before installing a Dave the Diver mod?
Dave the Diver mods exist as unofficial community projects, with current examples built for the Windows version and BepInEx 6 IL2CPP. They can add map helpers, auto-pickup, configuration panels, localization, or testing commands, but they are not official MINTROCKET features and they are not interchangeable with Switch, mobile, or console versions.
The safest workflow is source-first: read the project's requirements and release notes, install the loader from its documentation, launch the game once, back up the save, and test one mod at a time. This page links to release or repository pages instead of hosting DLLs, ZIP files, APKs, or repacked installers.
Verified snapshot
Which Dave the Diver mods are useful starting points?
These are community projects checked on 4 August 2026. Versions and compatibility can change after a game update, so use the linked release page as the final source.| Project type | Checked example | What it changes | Source evidence | Main caution |
|---|---|---|---|---|
| Expansion / utility | DaveDiverExpansion v1.6.1 | Map overlay, auto-pickup, config UI, scene and upgrade helpers | GitHub release published 8 March 2026 | Many toggles; disable features that can affect quests or progression. |
| Command console | Dave Console Mod v1.0.0 | Inventory and currency inspection or changes through commands | MIT repository and release published 25 July 2026 | Data-changing commands can persist; back up before testing. |
| Localization | Bulgarian Mod v0.1.0 | Community translation labels loaded through BepInEx | GitHub README with version and build requirements | Initial release wording may change after in-game testing. |
| Loader | BepInEx 6 IL2CPP | The mod framework required by the checked projects | Official BepInEx IL2CPP installation documentation | Choose the Unity.IL2CPP-win-x64 build for a compatible Windows install. |
| Mod listing | DaveDiverExpansion on Nexus Mods | A community distribution page for one expansion project | Nexus Mods page linked from the project README | Read files, permissions, posts, and requirements before downloading. |
This is an editorial illustration, not a screenshot of a real installer or security result.
Before you touch the game folder
Four checks prevent most mod mistakes
A mod guide should reduce risk before it explains buttons. These checks apply even when a project has a polished release page.Use the correct platform
The checked projects target the Windows/Steam build. Do not copy a DLL into Switch, mobile, or console files, and do not assume a PC mod works after a future port update.
Confirm the loader and architecture
The projects reviewed here call for BepInEx 6 IL2CPP. Match the documented Unity.IL2CPP-win-x64 build and let the game generate its interop files before adding a plugin.
Back up saves and note the removal path
Copy the save folder somewhere separate, record the original game folder, and know which plugin or config files the mod adds. A clean removal is easier when the file list is known first.
Check the release, not just the repository name
Look for a tagged version, date, requirements, changelog, and issue history. A repository can be active while its newest binary is experimental, stale, or meant for a different game build.
Install route
A cautious BepInEx 6 IL2CPP setup path
The exact archive layout belongs to each project's release notes. The sequence below keeps the high-risk decisions visible without pretending every mod uses identical files.Read the project requirements
Open the linked repository or release page and record the mod version, game platform, loader build, dependencies, controls, and known incompatibilities.
Prepare a clean game folder
Use the legitimate Windows/Steam installation, close the game, and make a save backup. Do not mix files from different mod managers or copy an archive into a random downloads folder.
Install BepInEx first
Follow the official IL2CPP guide, select the documented Windows architecture, launch Dave the Diver once, and close it after the loader creates its required folders and interop data.
Add one community mod
Extract the release archive into the game root only when its instructions say to do so. Check the expected BepInEx/plugins path and never overwrite unrelated files without understanding the replacement.
Test a low-risk save
Start with a copied save or a new test profile, verify that the game reaches the menu and a normal dive, and test the mod's toggle or hotkey before changing inventory, currency, or progression.
Remove or disable deliberately
Use the project's removal instructions, disable its config entries, and restore the clean backup if the game crashes, quests stop progressing, or a later update changes the behavior.
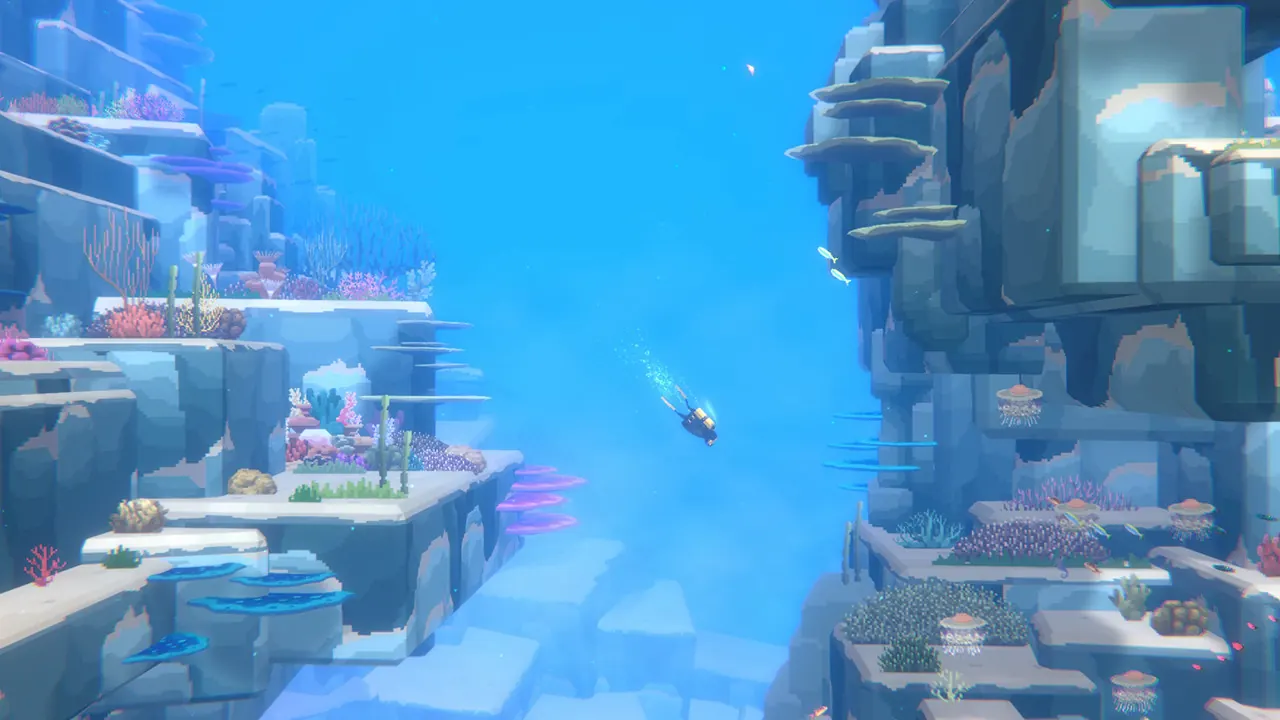
The screenshot is used to orient the guide; it does not show a modded build.
Compatibility and limits
A mod can be useful without being a permanent upgrade
The base game screenshot below is an official Steam reference, not a modded capture. Treat the game build, platform, save, and quest state as separate compatibility layers.Game updates can break plugins
A loader or plugin may depend on internal game assemblies. If Dave the Diver updates, pause before launching a save with the mod and check the project's issues or release notes.
Save-changing tools are higher risk
Console and inventory tools can write values that persist. They belong in a backed-up test save, not in a main progression file you cannot replace.
Convenience is not the same as progression
A map or pickup helper changes navigation effort; a currency or item command changes progression. Decide which kind of change you actually want before installing anything.
DLC and mods are separate
A mod cannot replace a paid or free content pack. For official content, use the Steam and MINTROCKET information in the site's DLC guides instead of a mod mirror.
Source policy
Use release pages and official loader documentation
The links below were checked on 4 August 2026. They are external sources and may change; this site does not mirror their files or promise compatibility.Official BepInEx IL2CPP guide
The loader documentation explains the Unity IL2CPP installation path used by the projects reviewed here.
Read BepInEx documentationDaveDiverExpansion release v1.6.1
A community expansion with a README, feature list, release history, and links to its Nexus Mods distribution page.
Open the GitHub releaseDaveDiverExpansion on Nexus Mods
A community mod page. Review the current file, requirements, posts, and permissions on the host page before choosing whether to download.
Open the Nexus pageDave Console Mod v1.0.0
A community MIT project whose README warns that data-changing commands can persist and that updates may affect compatibility.
Open the console releaseKeep the game plan connected
Mods should support a clean guide route
A mod does not replace progression knowledge. Use the site's existing guides to decide what you want to improve before adding a community plugin.
Mod FAQ
Common questions about Dave the Diver mods
Bottom line
Choose a reversible experiment, not a mystery installer
The best use of a Dave the Diver mod is narrow and reversible: start with one clearly documented community project, a backed-up Windows save, and a release page that states its loader and platform. If a page hides the source, skips requirements, or promises an all-in-one APK or cracked package, leave it alone.
For ordinary progression, the site's weapons, staff, fish, dishes, DLC, and playtime guides remain the safer foundation. Mods can change how you play, but they should never be the only place where an important game fact or save decision lives.