Boss fights guide
Dave the Diver Bosses: Boss Fights, Weapons & Prep Guide
Use this boss guide to plan oxygen, weapons, ammo, recovery, and arena space before a major fight. The goal is not to force one tier-list weapon into every encounter; it is to make the next fight readable and survivable.
- Main intentBoss list + tactics
- Best useFirst-attempt preparation
- Page boundaryBosses, not downloads
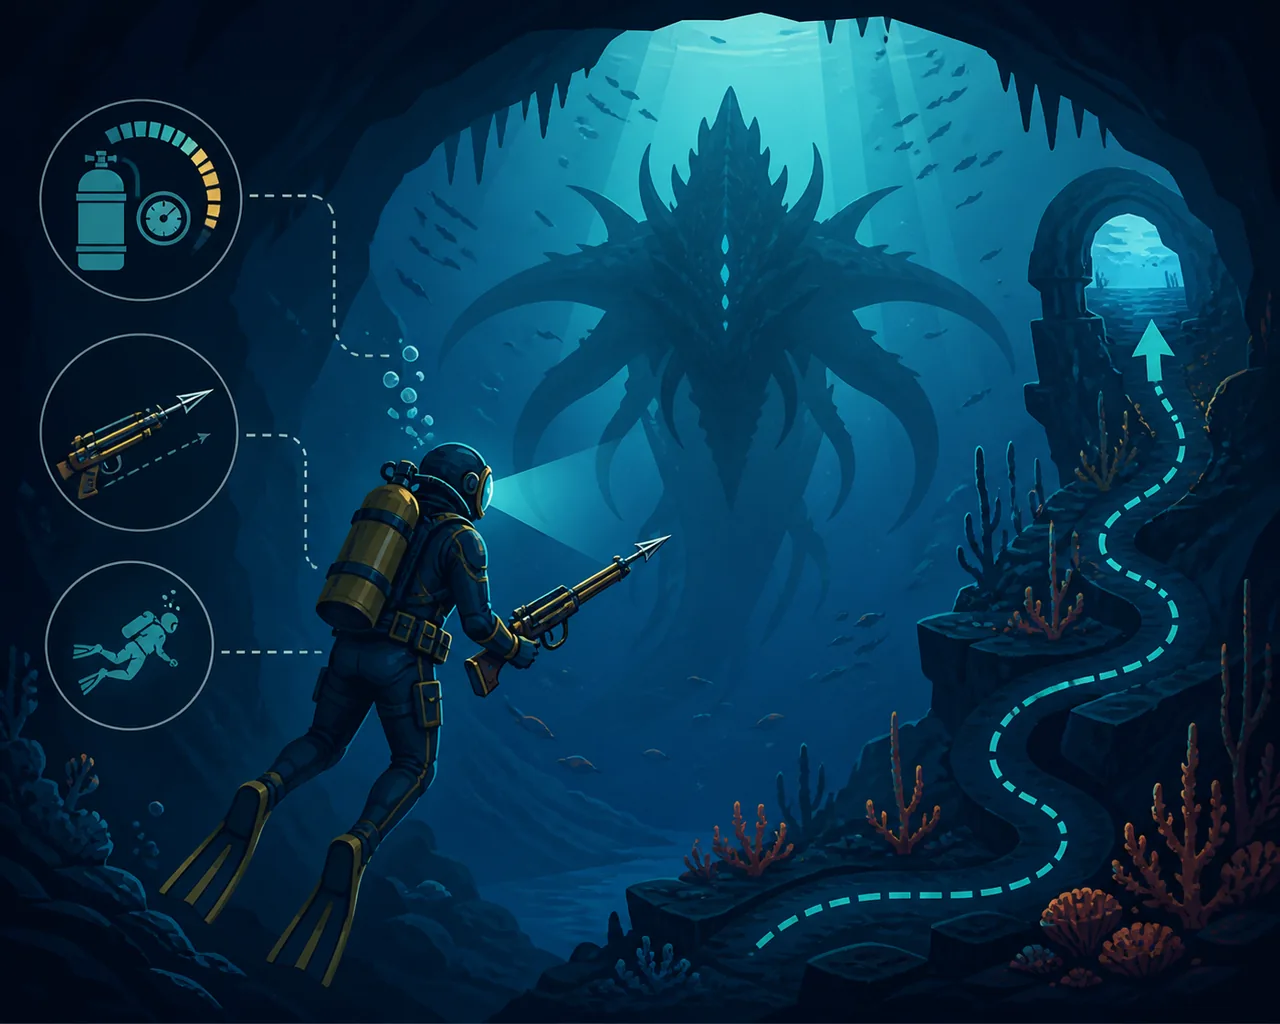
Quick answer
Prepare for the problem the boss creates, not only its health bar
The safest way to handle Dave the Diver bosses is to enter with a clear failure plan. Check how much oxygen you can spend, whether your weapon can keep distance, how much ammo the arena offers, and where you can retreat when the pattern becomes crowded.
A boss fight is also a resource decision. A high-damage weapon may look best on paper but still fail if it forces close contact, consumes rare materials, or leaves you without a capture option for the rest of the dive. Bring the tool that fixes your current weakness.
For a first attempt, survival and observation are valid progress. Learn the warning animation, the safe side of the arena, and the moment when the boss becomes vulnerable. On the rematch, spend resources on faster damage only when you know the pattern well enough to use them.
This page covers the main boss-fight questions players ask: the final boss, the jellyfish and crab encounters, Kronosaurus, weapon choices, refights, and the difference between a main boss and a side activity such as Beetle Battle.
Boss table
Dave the Diver boss fights at a glance
Use the encounter type to decide what to bring. Exact drops, triggers, and DLC behavior can change, so confirm the current in-game objective when a patch or expansion changes the route.| Boss or encounter | Main threat | What to prepare | Best first move |
|---|---|---|---|
| Early giant-creature fights | Limited oxygen and unfamiliar attack timing | A reliable ranged weapon, spare ammo, and a calm retreat path | Watch one full pattern before spending every shot. |
| Jellyfish boss | Small openings and pressure from the arena | Distance, movement room, and a weapon you can aim while repositioning | Stay mobile and use the edge of the arena instead of chasing. |
| Big crab or truck-sized crab | Heavy contact damage and a narrow safe angle | Burst damage, recovery, and a plan for the arena objects | Read the charge and keep a retreat lane open. |
| Kronosaurus fight | Large movement cycles and punishing close range | Long-range damage, oxygen margin, and patience between openings | Use the arena to create distance before the next attack. |
| Final boss | Several phases and a long resource test | The best stable weapon you can maintain, full supplies, and recovery timing | Treat phase one as pattern collection, not a damage race. |
| In the Jungle lake encounters | New spaces, materials, and unfamiliar routes | A flexible build and enough carrying and oxygen capacity for exploration | Learn the route before committing rare upgrades. |
| Beetle Battle / King of Beetles | Side-activity rules that do not behave like a normal dive boss | Read the activity objective and keep it separate from the main boss route | Do not use a main-boss build as the only answer. |
| Refight or repeat encounter | Overconfidence after the first clear | A faster route only after the safe route is consistent | Keep one defensive option until the pattern is automatic. |
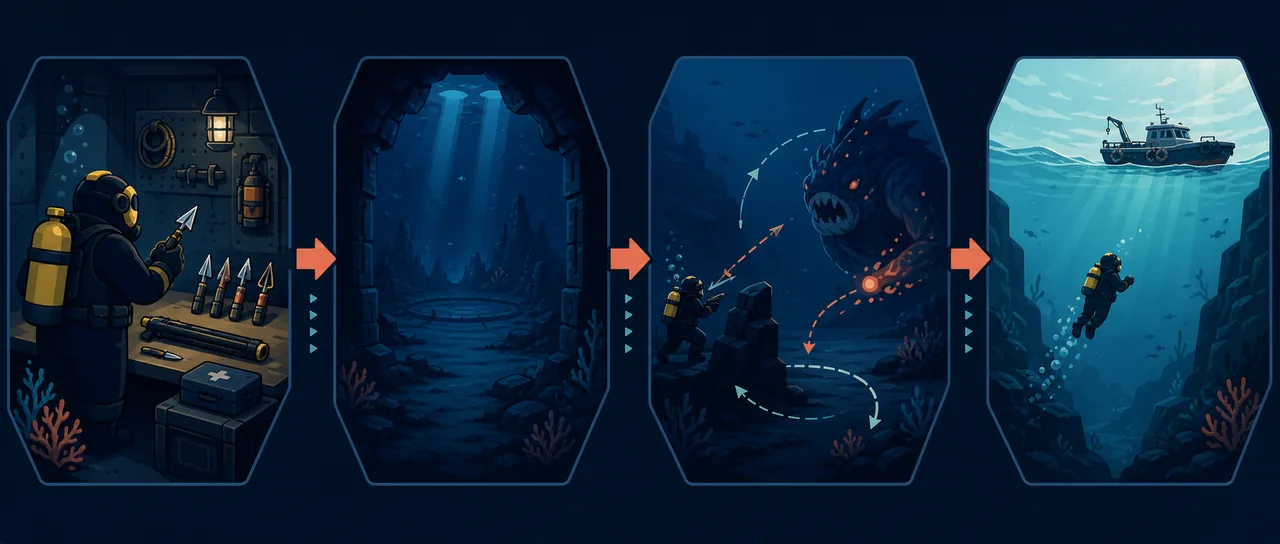
Boss-fight preparation
A four-stage loop keeps boss attempts under control
The page uses the same dive-to-restaurant mindset as the rest of the site: prepare the day, survive the encounter, then decide what the next upgrade should solve.Before entering a boss room, compare the fight with your current save rather than an ideal late-game build. If oxygen is the real limit, a small equipment upgrade can be more valuable than a weapon that needs rare parts. If the problem is a narrow opening, range and positioning matter more than a raw damage number.
After the fight, record what actually failed. You may need more ammo, a better route through the room, a safer recovery window, or a different weapon family. That note is more useful than copying a community tier list without checking your materials and platform.
1. Name the failure
Decide whether you are losing to contact damage, oxygen, aim, ammo, or an unclear pattern. One named problem produces a better loadout than a general upgrade wish.
2. Check the route
Make sure the dive itself does not consume the resources you need for the boss. A safe path and a little extra oxygen can matter more than one risky catch on the way in.
3. Bring a stable weapon
Use the strongest weapon you can build and operate consistently. Long range, reliable shots, or a capture tool can each be correct for a different objective.
4. Protect the arena
Do not spend every movement option immediately. Leave space for the attack you have not seen yet, and use cover or distance before the screen becomes crowded.
5. Turn the result into an upgrade
After the attempt, upgrade the bottleneck you observed. Boss progress should improve the whole dive loop, not only one dramatic damage number.
Weapon and arena matchups
Choose the tool that protects your next decision
There is no single best weapon for every Dave the Diver boss. Use these four filters before committing materials.Sniper-style weapons
Best when a boss punishes close contact or gives you a clear line of sight. Range buys time to read movement and preserve oxygen.
Good for: large targets and final phasesHigh-damage options
Useful when a boss has a short vulnerability window. They are less forgiving if you miss or run out of ammo before the next phase.
Good for: known openingsTranquilizer and utility
A control or capture tool can be the right answer when the goal is fish quality, a special target, or a safer route rather than pure boss damage.
Good for: capture and special objectivesRecovery and oxygen
A slightly slower build can win because it gives you one more mistake, one more dodge, or enough time to reach the exit after the clear.
Good for: first attemptsCommon mistakes
Why a boss build fails even when the weapon is strong
Most failed boss fights are not caused by one missing tier-list weapon. They come from entering with no oxygen margin, spending ammo on the wrong target, or treating every encounter as a stationary damage check. The better question is what the arena asks you to do repeatedly.
Keep the boss page separate from the fish database, staff guide, and MOD guide. Fish locations help you plan the route; best weapons compares upgrade paths; the MOD page covers community files and safety. Mixing those intents makes each page harder to trust.
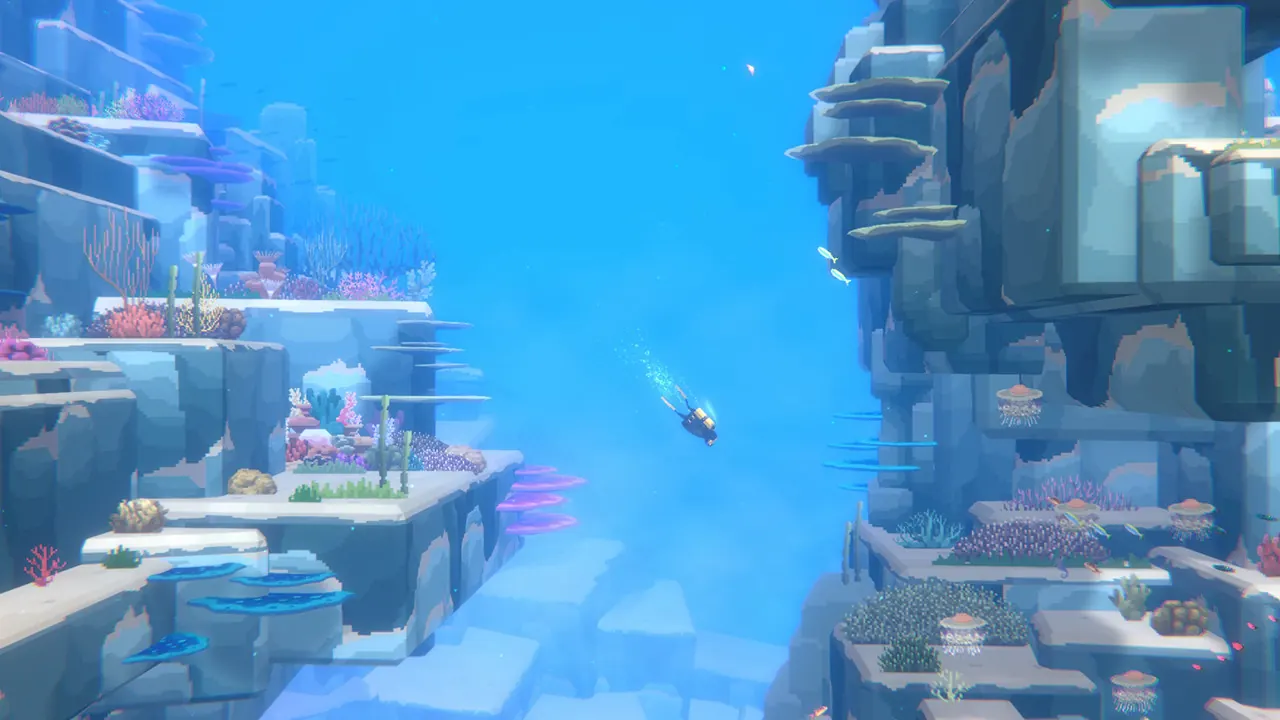
Official game reference
Use official media for product facts, strategy for the fight
The gameplay image below is identified as official Steam media. This page adds independent strategy around boss preparation; it is not an official MINTROCKET guide, and the editorial illustrations above are not screenshots.
- Official app
- Steam app 1868140
- Developer / publisher
- MINTROCKET
- Guide type
- Independent fan guide
Related guides
Connect boss preparation to the rest of the dive
Bosses are one part of the day-and-night loop. Use the related pages when the next question changes from the fight itself to weapons, fish, farming, DLC preparation, or community MOD safety.
FAQ