Stormy Night 2 boss guide
Dave the Diver Mantis Shrimp Guide: Beat Stormy Night 2
Mantis Shrimp is an optional Chapter 4 encounter built around timing, cover, and one risky chain mechanic. Use this route to reach the fight prepared, read each attack, and refill supplies during safe openings.
- EncounterStormy Night 2
- Best openingEyes after a charged punch
- Arena toolHanging chain
- Page boundaryBoss strategy, not downloads
Quick answer
How do you beat the Dave the Diver Mantis Shrimp fight?
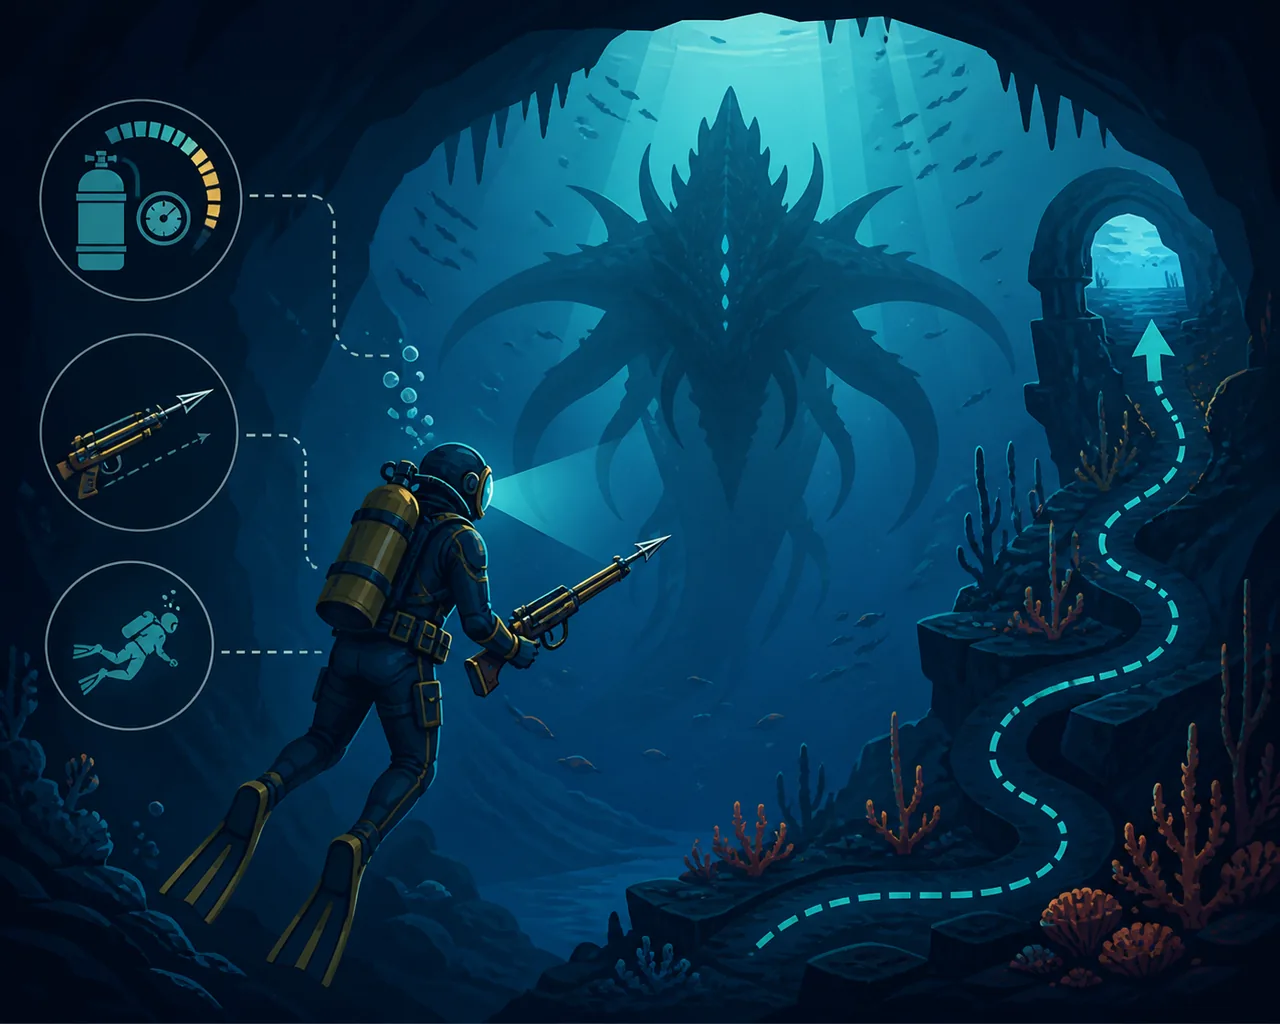
This Dave the Diver Mantis Shrimp guide makes the encounter manageable: keep the boss on one side, stay low under normal punches, and wait for the charged-punch recovery. Dash upward to hit the exposed eyes, then return to your safe lane.
When the boss jumps and slams both gloves, move to the hanging chain in the upper corner only if you are already close enough. Pull it partway so the attached object meets the punch and stuns the shrimp. The stun is a damage and resupply window, but a late chain pull can push Dave into spikes, so skipping it is safer than forcing it.
Stormy Night 2 is a resource check as well as a pattern check. Bring a stable ranged weapon, leave room for a retreat, and keep enough oxygen and ammunition for the arena. The chest and tanks inside the room can rescue a careful attempt, but they do not replace a plan for the first two attacks.
Check the active objective before leaving the boat; storm timing can depend on your progress.
Trigger and route
Find Mantis Shrimp through Stormy Night 2
Mantis Shrimp is an optional boss tied to the Stormy Night 2 sub-mission in the Chapter 4 progression. The event follows the storm-boss sequence that introduces Sato's rare encounter alerts. If the mission appears, read the objective before spending the night on unrelated catches; optional storm tasks can be easy to miss when you leave the boat or continue another activity.
The dive begins at a white vortex in the Blue Hole. Search the storm route instead of assuming the marker is beside the boat. Guides describe a loud roar and a wide possible depth band, so use the sound, map landmarks, and your oxygen margin rather than burning supplies while searching every corner. Enter only after the weapon and air checks below are complete.
The arena contains a weapon chest and oxygen tanks. Treat those items as recovery insurance, not as permission to arrive empty. A reliable rifle or sniper-style option makes the eye window easier to use, while a weapon you can aim under pressure is better than a theoretical high-damage build that you cannot control.
Attack patterns
Mantis Shrimp openings and safe responses
Each attack asks for a different movement choice. The table is a quick reference; learn the warning animation before trying to speed up the clear.| Pattern | Warning | Safe response | Damage or reset window |
|---|---|---|---|
| Standard punch | The right glove draws back and the boss tracks Dave. | Stay low, move vertically, and keep the shrimp near one side of the room. | No need to shoot while the gloves cover the eyes; preserve position and ammo. |
| Charged punch | The body turns and the stronger glove loads a slower strike. | Wait for the punch to pass, then dash upward and aim at the eyes. | The recovery after the punch is the main damage and resupply window. |
| Jump and slam | Both gloves rise before the boss hits the floor. | If the chain is close, pull it halfway so the hanging object meets the punch. | The stun exposes the eyes; skip the chain when the travel path crosses spikes. |
| Arena pressure | The boss drifts across the room while Dave is low on air or ammo. | Use the edge and retreat lane, then reach a tank only after the attack ends. | Refill oxygen or ammunition before returning to damage rather than gambling on one shot. |
The trigger, vortex, eye, glove, and chain behaviors are cross-checked against the fetched IGN, Game Rant, and TheGamer guides. Positioning and resource advice is independent editorial guidance.
Preparation loop
Build the attempt around the failure you can fix
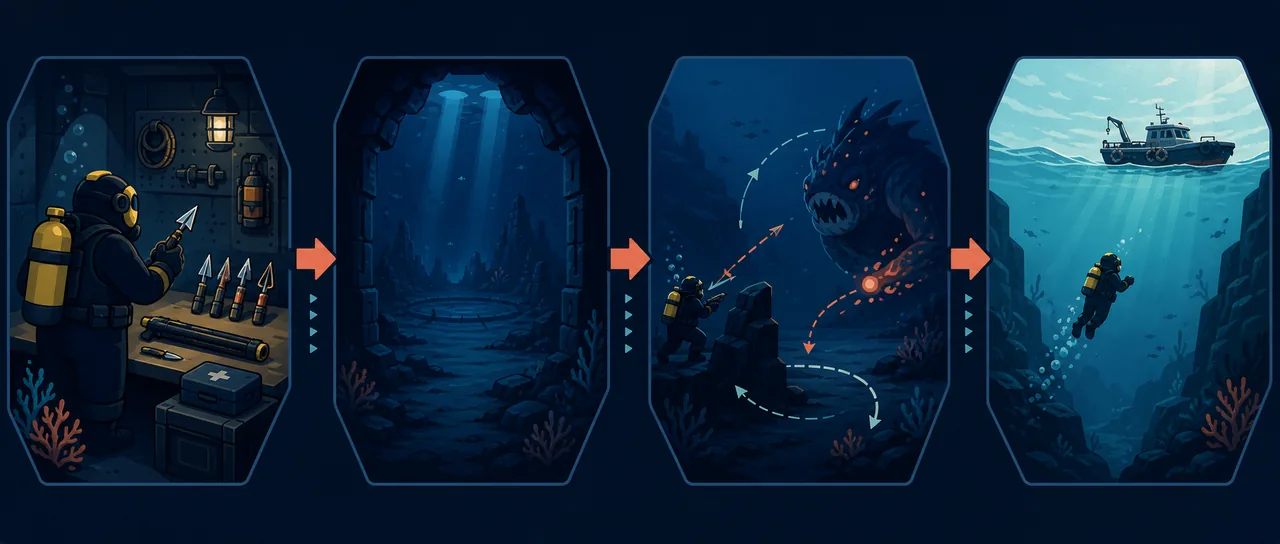
Choose a setup that leaves room to recover from one mistake.Before diving, identify why the last attempt failed. Contact damage calls for range and a retreat lane; a missed charged punch calls for patience; a costly vortex search calls for sound and landmarks. Change the loadout only to address that bottleneck.
Use one attempt to read the right glove, body turn, and jump. Note which opening you reached; the eyes stay exposed briefly. Keep the next change focused.
Reach the vortex before spending the night
Keep the Blue Hole trip direct. Gather only what you need to make the weapon reliable and preserve oxygen for the arena.
Action: leave optional catches for another dive.Choose aim you can repeat
A sniper-style weapon gives a clean eye line, but any stable ranged option works when its ammo and recoil fit your save.
Action: test one magazine before entering.Anchor the boss to one side
Keeping the shrimp near the left or right side makes the chain and retreat decisions easier to read.
Action: avoid crossing the full arena during a punch.Protect oxygen and ammunition
The arena chest and tanks help, but you still need enough resources to survive the approach and the first pattern cycle.
Action: refill during recovery, never during a live punch.Leave a failed run with a note
Record the warning you missed and the position that felt safe. The next dive should change one variable, not the entire build.
Action: upgrade the observed bottleneck.Weapon choices
Which weapon is best for Mantis Shrimp?
There is no single mandatory weapon. Match range, burst, and control to the way your attempt is failing.Sniper-style rifle
A clear line to the eyes makes the charged-punch punish easier and leaves more room to retreat.
Best when aim and distance are the problem.Reliable high damage
Burst helps during a short recovery, but only when you can keep enough ammunition for the next cycle.
Best after the pattern is familiar.Utility or capture tool
Control is not a replacement for boss damage, but it can be the right choice when the wider dive has a capture objective.
Best when the dive has a second goal.Extra oxygen margin
A slower build that grants one more mistake can outperform a fragile damage setup on a first clear.
Best for learning the room.Common mistakes
Why a strong weapon still loses the fight
Most failures start with poor timing: firing into covered gloves wastes ammo, a distant chain pull can send Dave into spikes, and searching without a plan drains oxygen. Slow down the first cycle.
Community builds are not universal; weapon level, controls, and progress change your margin. Use the general boss and weapon guides for broader advice.
Official game reference
Separate product facts from independent strategy
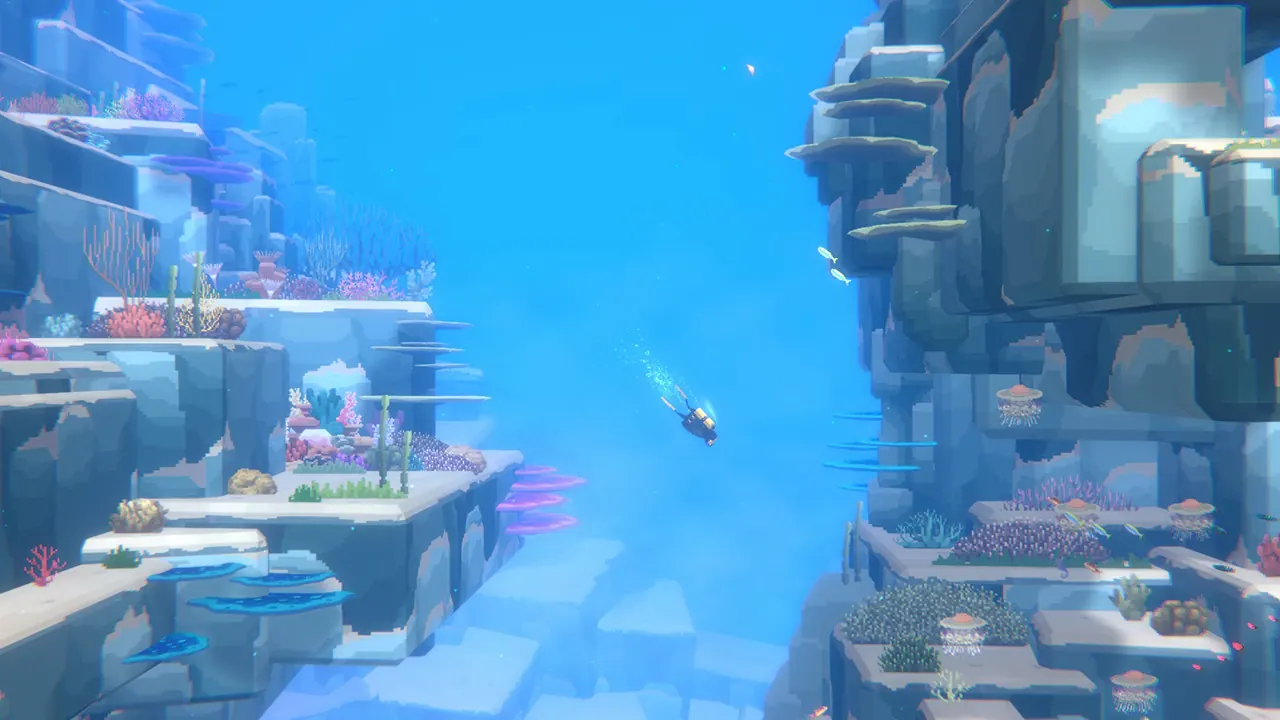
The gameplay image is identified as official Steam media. This page adds independent boss strategy; it is not an official MINTROCKET walkthrough. Check the current product listing for platform and update facts.
- Official app
- Steam app 1868140
- Developer / publisher
- MINTROCKET
- Guide type
- Independent fan guide
Related guides
Connect this boss fight to the rest of the dive
Use the focused Mantis Shrimp route here, then move to the site's broader weapon, boss, fish, and chapter pages when your next question changes.
FAQ