Sea People Village walkthrough
Dave the Diver Sea People Village Guide: Access, Trust & Quests
Reach the village without wasting a dive, understand the mirror schedule, and earn enough Credit to move the story forward. This focused route keeps village tasks, Bei, and the next unlock in one checklist.
- Main storyChapter 3
- Trust target100 Credit
- Fast travelSea People Mirror
- Local currencyBei

Quick answer
How do you get to Sea People Village in Dave the Diver?
Progress through Chapter 3 until Tenzhin gives Dave the Sea People Mirror and the Village Map. Use the mirror from the boat during the morning or afternoon to travel directly to the village. You can also swim the long route, but the mirror is the reliable choice when a quest marker is waiting.
The village is not cleared by one boss fight. You gain Tenzhin's trust by helping residents and collecting Credit. A practical first loop is to deliver Mima's lunch boxes, place Kazhin's flowers at King Long's statue, complete the Wedding Song Record, and catch the four runaway seahorses after the Bug Net is available. Keep checking the map for new exclamation marks as each task unlocks another.
Your immediate goal is 100 Credit, not a perfect village sweep. Finish short jobs first and return before oxygen or inventory becomes the real problem. When the threshold is reached, speak with Tenzhin upstairs to open the next story objective.
Access checklist
What you need before the village route starts
Use this compact table before you leave the boat so an otherwise simple quest does not become a second trip.| Checkpoint | Action | What it changes |
|---|---|---|
| Chapter 3 trigger | Follow the Sea People story until Tenzhin speaks with Dave | The village route and trust tasks become available |
| Mirror and map | Accept both items and place the mirror on your quick route | Fast travel works in the morning and afternoon |
| Bug Net | Finish the relevant Chapter 2 side content before the seahorse request | The four runaway seahorses can be captured |
| Trust threshold | Complete resident requests until the total reaches 100 Credit | Tenzhin accepts the village progress and points to the next area |

Travel rules
Use the Sea People Mirror without losing your schedule
The Sea People Mirror is the fastest answer to the question “how do I get to Sea People Village?” after Tenzhin gives it to you. It connects Cobra's boat and the village, but it is not an unlimited pause button. The usable window is the morning and afternoon, so a late return can force you to take the long route or wait for the next part of the day.
A mirror trip back to the boat ends the current dive attempt. Treat it as a checkpoint: turn in a task, bank the Credit, and keep enough oxygen if the objective still requires a dive. Do not return just to refresh a marker already shown on the map.
Open the Village Map on arrival and read landmarks before using portals. The upper level, King Long Square, Mima's Restaurant, the Seed Shop, the Game Parlor, and the workshop are easier to remember as one loop.
Recommended order
A safe Sea People Village quest route
The order reduces backtracking and gets the early Credit rewards before the material-heavy jobs.Arrive and read the map
Use the mirror in the correct time window, open the Village Map, and mark every available exclamation point. Speak to Tenzhin only after you understand which errands are ready.
Start with the short errandsCollect the easy Credit
Deliver Mima's lunch boxes and offer Kazhin's flowers at King Long's statue. Both tasks teach the village layout and give currency without a deep dive.
Two quick returnsFinish the request chain
Complete the Wedding Song Record, then catch the four runaway seahorses once the Bug Net is unlocked. The arcade and the upper house are easy to miss if you only search the lower street.
Inspect both levelsReach 100 Credit
Use the remaining markers to cross the trust threshold. Keep coral, opal, and food requests on a written list so the next dive serves several jobs at once.
Report to Tenzhin upstairs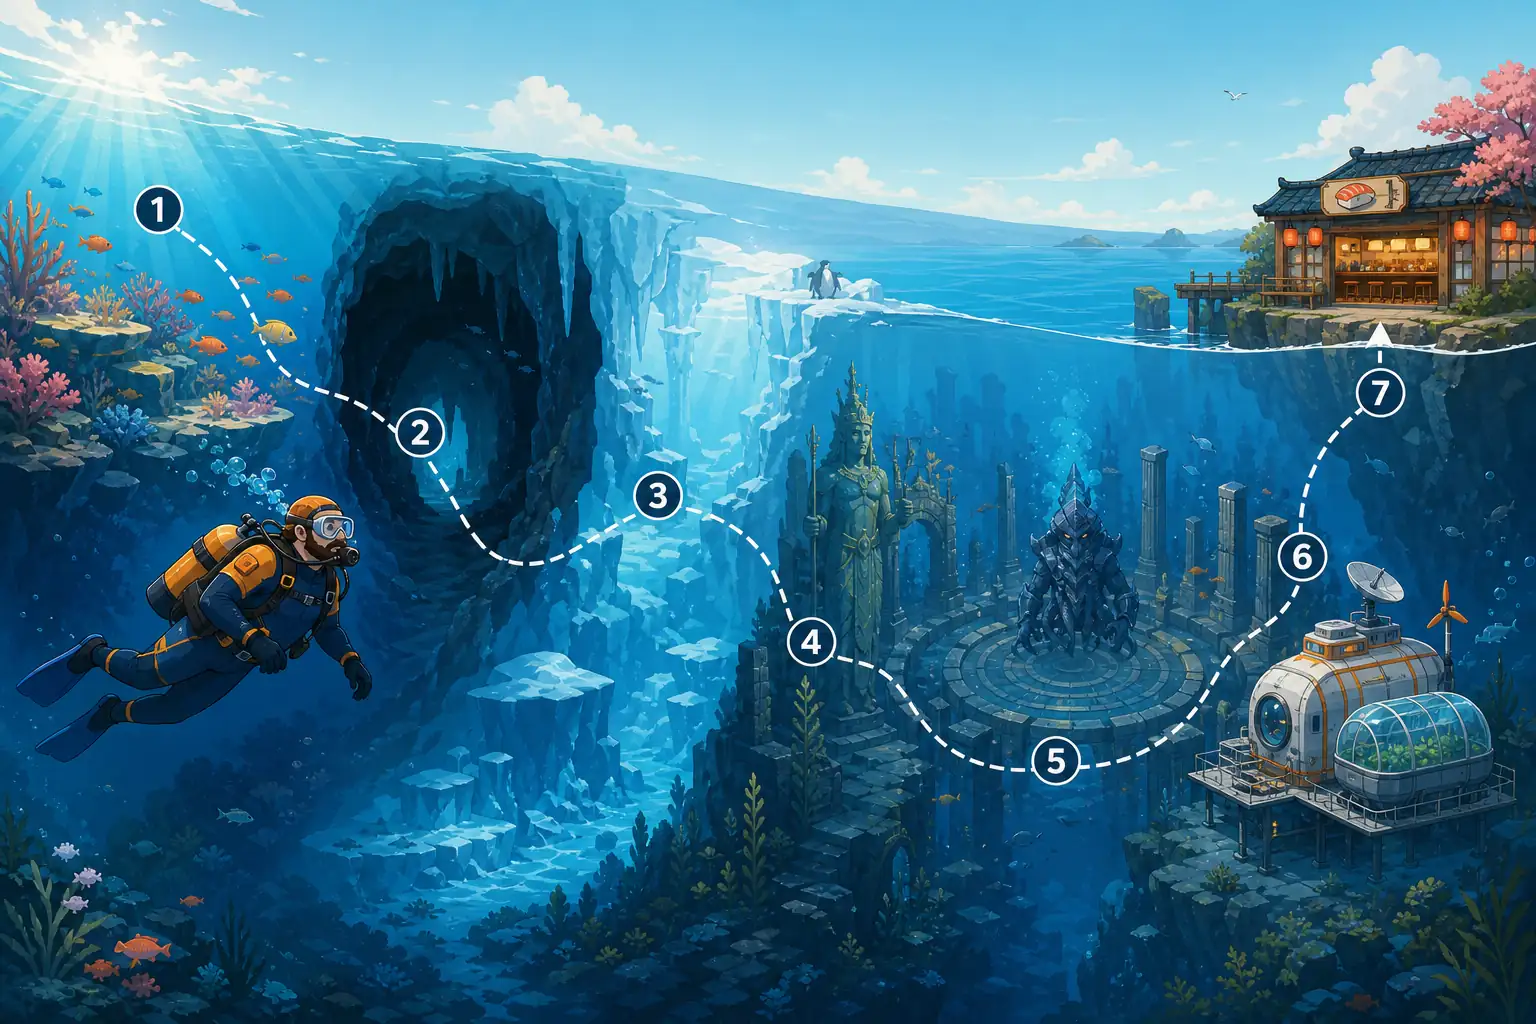
Quest details
Which village quests matter first?
Early tasks are valuable because they combine navigation practice with Credit. Mima's lunch boxes and Kazhin's offering are fast enough to complete before you commit to a deeper dive. The Wedding Song Record adds another short trip through the Record Chamber, while the runaway seahorse request is a reminder that a village interaction may depend on a tool earned in an earlier chapter.
Later requests ask for coral, food, opal, or a boss outside the village. Read the list before leaving. If a quest needs 2 Feather Coral, 2 Lily Coral, Coral Porridge, or five Opal, add them to the same Blue Hole route as restaurant and equipment goals.
Mima's lunch boxes
Carry the marked boxes from the restaurant to the gatekeepers, then report back. The reward is small but the route teaches the lower gate.
King Long's flowers
Pick up the flowers beside the Seed Shop, place them at the statue in the square, and return to Kazhin. It is a clean first Credit task.
Runaway seahorses
Catch four targets around the village with the Bug Net. Check Tenzhin's house, the Seed Shop, the statue area, and the restaurant banner.
Workshop and material jobs
Coral Porridge, Opal, and later food requests are best grouped with a planned dive. Save the required materials before accepting a second detour.
Currency and progression
Bei and Credit solve different problems
Credit is the progression meter. Each helpful resident adds Credit, and the important checkpoint is 100 Credit for Tenzhin's trust. Bei is the village's spending currency. You earn it from requests and spend it on local services such as the beluga ride after Daphne's whistle is unlocked. Do not treat Bei as a replacement for Credit: buying a ride will not advance the story threshold.
Bank Credit first, then spend Bei only when faster movement saves a real trip. If a request asks for a rare material, keep it in the same plan as the reward so one dive can also collect restaurant ingredients and upgrade parts.
At 100, visit Tenzhin's upstairs house. If the conversation does not appear, check open exclamation marks and the required day at the boat.
Troubleshooting
Four mistakes that make the village feel locked
Most stalled village runs are timing or routing problems, not missing secret content. Check the mirror window, map level, and current quest marker before spending resources. If a task is still unavailable, finish the preceding resident request and return on the next valid part of the day.
Plan the inventory too: carry the required tool, leave room for marked items, and return before oxygen is an emergency. A short loop is faster than a risky dive with a lost objective.
Using the mirror at night
The direct mirror window is morning or afternoon. A night plan should be a dive plan, not a forced fast-travel attempt.
Searching only the lower street
The upper house, shrine, and portal route hold important markers. Finish one level, then check the second before leaving.
Arriving without the Bug Net
The seahorse request cannot be solved with a harpoon or gun. Unlock the interaction first, then make the village sweep.
Confusing Credit with Bei
Credit opens trust; Bei pays for services. Track both separately in your notes and do not spend the progression meter.
Source and scope
How this walkthrough separates facts from route advice
Quest names, rewards, mirror timing, and the 100 Credit threshold were cross-checked against the fetched IGN and Sirus Gaming Chapter 3 walkthroughs. Those sources are used for game facts; the order and inventory advice on this page are an editorial route designed to reduce backtracking.
The official Steam listing gives product context but does not document village tasks. Use it as the official reference and the steps above for the route.
Continue the route
Connect the village to the rest of your save
Once trust tasks are clear, use the site's focused pages for seahorse captures, Blue Hole navigation, fish targets, and safe weapon choices.
Questions